Birefringence unevenness inspection in glass plates
Glass and plate inspection
Our birefringence measurement products, like PA series, WPA series, including WPA-KAMAKIRI, are widely used for visualization and quantitative evaluation of residual stress distribution, which can cause cracking or degradation of optical performance such as MTF and transmittance degradation. In recent years, our systems have also been used for 2-D evaluation of the birefringence distribution of high-quality glass for automotive displays.

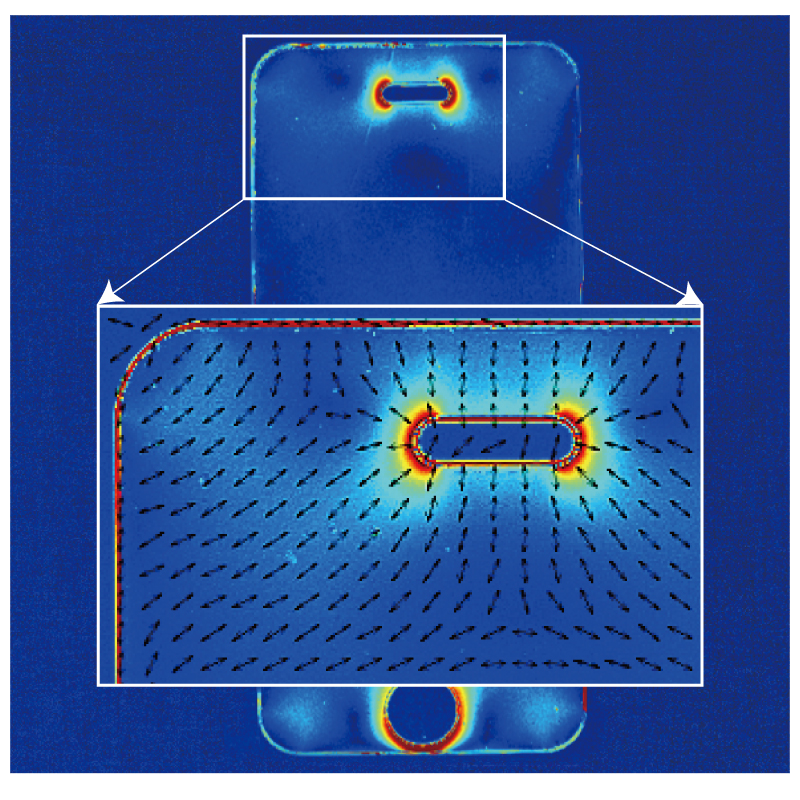
Glass for Smartphone
Residual stress during glass processing varies depending on the degree of friction applied by the tool when processing. By quantitatively evaluating the residual stress at the processing point, it is possible, for example, to determine the appropriate time to replace the tool before breakage or before its reduced properties have a too bad impact of the quality of the processed parts.

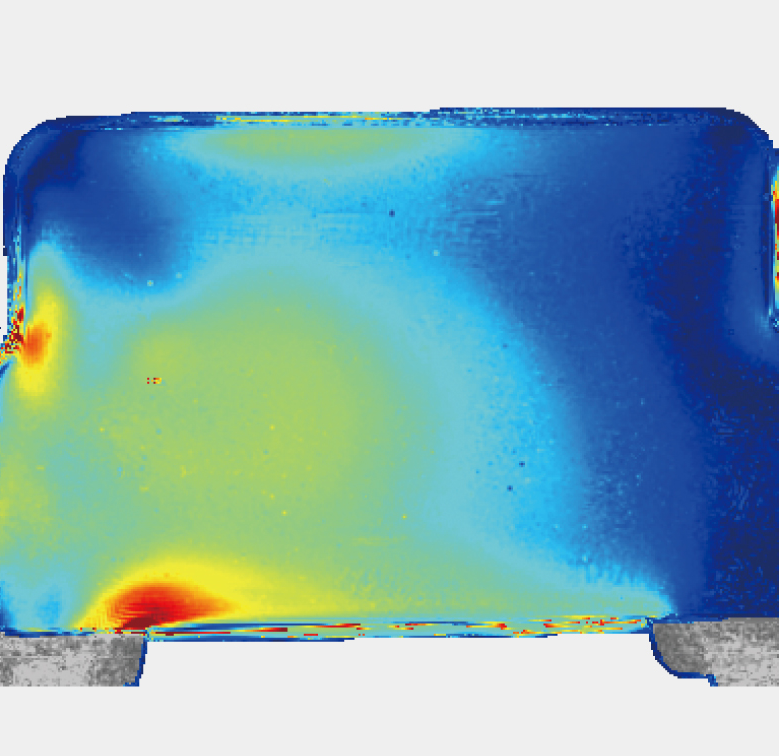
Molded parts for HUD
Variations in optical characteristics of molded products can cause contrast reduction and shape deviation in image display, for example in the case of a cover part used in Head-Up Display (HUD). It is possible to quantitatively determine whether the product is good or bad.

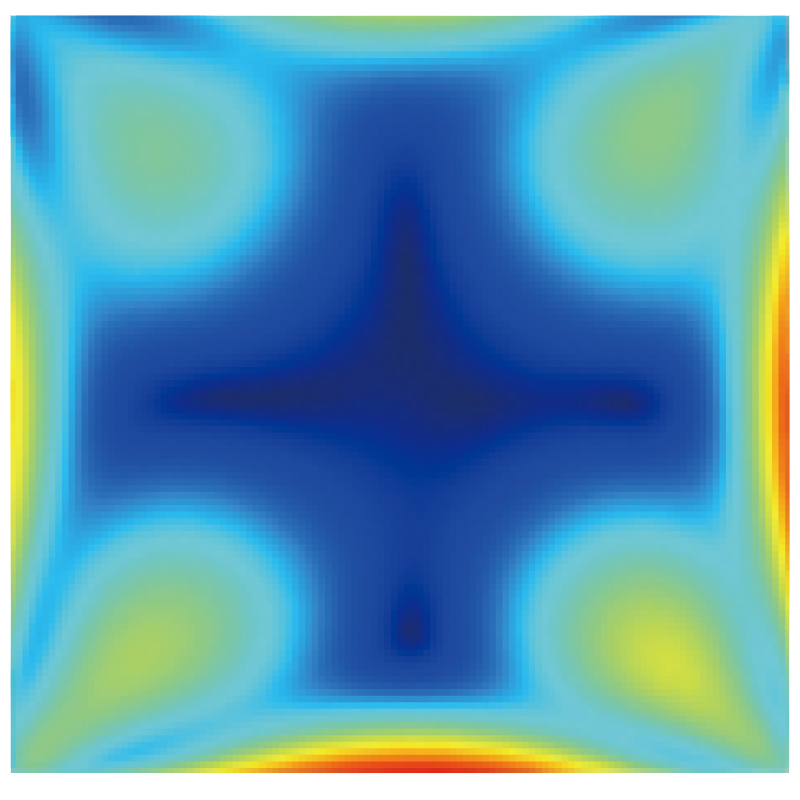
Glass substrate
Distortion of the glass substrate may cause deformation when it is post-processed as a substrate. While checking the distribution of distortion, we perform quality inspections and set up conditions for annealing, cutting, and drilling.
related product
Category
- #Birefringence & stress strain measurement solutions
- #2-D Birefringence Measurement System
- #Birefringence Measurement System
